

Skin tags—those soft, fleshy growths—are not harmful, but they can be a nuisance, particularly when they crop up in prominent or sensitive sites. If you've ever spotted one under your arm, on your neck, eyelid, or groin, you've probably asked yourself: Can I remove this at home? And is it safe to do so?
The best part is, a number of skin tags can be removed safely in the home—but only under the right conditions and with proper cleanliness. In this post, we'll take you through what exactly skin tags are, why they develop, and the safest, doctor-recommended ways to remove them in the home. And, we'll cover when you really need to seek out a professional.
What Are Skin Tags?
Skin tags, or acrochordons, are non-cancerous growths on the skin that usually dangle from the body by a slender stalk. They feel smooth to the touch and may be one color with your normal skin or a shade or two darker. Painless as they may be, they can be irritated by catching on jewelry, zippers, or when shaving.
Common locations
•Neck
•Armpits
•Eyelids
•Under breasts
•Groin area
•Thigh folds
Why Do Skin Tags Form?
Skin tags usually occur where the skin rubs against clothing or against the skin itself, and thus tend to occur in locations that experience friction. Risk factors that predispose to them include:
•Age (most frequently above 40)
•Obesity
•During Pregnancy (due to hormonal fluctuations)
•Diabetes or Insulin Resistance
•Genetics
They're not dangerous, but some individuals like to remove them for cosmetic or even for comfort purposes.
Is It Safe to Remove Skin Tags at Home?
Yes—but with caution. Skin tags can be removed safely at home if you're certain about the diagnosis, but you need to adhere to strict hygienic methods to prevent scarring or infection.
Warning: If you're not sure if the bump is a skin tag or another condition (such as a mole, wart, or skin cancer), consult a dermatologist before attempting home removal.
Home Ways to Safely Remove Skin Tags
Let us discuss the safest and most popular DIY methods:
1. Skin Tag Removal Patches or Bands
How It Works: These over-the-counter (OTC) treatments consist of placing a small rubber band at the base of the tag (ligation). This seals off blood circulation, dehydrating the tag, and it often falls off in 7-10 days.
Ideal for: Small to medium-sized tags with a prominent stalk.
Pros:
•Non-invasive
•Minimal pain
•No cutting involved
Cons:
•May not function on flat or wide-based labels
•Take a few days
•Risk of infection if band isn't sterile
Safety Tips:
•Disinfect the site prior to application.
•Use on tags that are far from eyes or genitals
•Watch for indications of redness, pain, or swelling
2. OTC Topical Solutions or Creams
How It Works: You can buy drugstore creams or online, both that use plant extracts or caustic substances, which dry out the tag over a span of a few days. Salicylic acid, homeopathic remedies, or even tea tree oil is often included in them.
Ideal For: Small, non-sensitive area labels.
Pros:
•Easy to apply
•Painless
•Affordable
Cons:
•Results vary
•May irritate surrounding skin
•May need repeated applications
Safety Tips:
•Do a patch test first.
•Avoid broken or irritated skin.
•Never apply near eyes or to mucous membranes
3. Cryotherapy (Freezing) Kits
How It Works: Much like what a dermatologist does, at-home cryotherapy sets utilize a freezer agent (normally liquid nitrogen or a comparable compound) to kill off skin tag tissue. The tag also falls off in 1-2 weeks.
Ideal for: Small to medium-sized tags in accessible positions.
Pros:
•Quick application
•Works in 1-2 sessions
•Popular method
Cons:
•Mild pain or aching
•May require repeat application
•Risk for blistering or changes in pigmentation
Safety Tips
•Please listen attentively
•Do not use on large surfaces or on broken skin.
•On verified skin tags—but not moles
4. Herbal remedies (Use with Caution)
There are numerous anecdotal reports on natural remedies for removing skin tags. Among the most common ones include:
•Apple cider vinegar (ACV): Dabbed daily with a cotton ball to dry out the tag
•Tea tree oil: Antiseptic in nature, applied 2–3 times per
•Garlic paste: Said to tighten tags if applied at night
Ideal for: Mild cosmetic cases only.
Pros:
•Low-cost
•Natural ingredients
Cons:
•No clinical evidence
•May cause skin irritation or burns
•Not appropriate for sensitive situations
Safety Tips:
•Always dilute essential oils.
•Discontinue if irritation occurs
•Avoid sensitive areas like eyes or genitals
5. Floss or Thread (Ligation Technique)
How It Works: This method is similar to store-bought methods, where dental floss is tightly wrapped around the base of the tag to cut off circulation. The tag becomes dark-colored, shrinks, and falls off in a few days.
Ideal for: Tags with a distinct, slender stalk.
Pros:
•No need to buy special equipment
•Simple and quick
Cons:
•Risk of infection or improper tying
•Not germ-free
•Not suited for sensitive or inaccessible areas
Safety Tips:
•Sanitize the floss and your hands.
•Disinfect the area daily
•If there is redness or pus, halt and consult a doctor.
What Not to Do
Certain procedures are best avoided owing to excessive risk:
•Cutting with scissors or blades: Sterilized equipment is not guaranteed against bleeding, infection, or scarring.
•Burning with matches or hot implements: Highly dangerous and can result in severe skin injury.
•Salicylic acid wart removers (wart remover pads): They are not meant for use on skin tags and can be damaging to surrounding tissues.
Aftercare: How to Heal Properly
After your skin tag is removed or falls off, proper aftercare is essential to prevent infection and aid healing.
Do:
•Clean the space every day with mild soaps and water
•Apply antibacterial ointment as necessary
•Keep the area covered with a bandage if raw.
•Do not scratch at the healing wound
Don’t:
•Expose the area to sunlight without using sunscreen.
•Scrub or rub it
•Apply harsh chemicals in healing.
Healing usually requires from 7 to 14 days, varying with removal method and site.
When to See a Doctor
While some skin tags can be removed at home, others may need a professional's help:
Seek medical advice if:
•The growth is transforming in size, color, or shape
•It is bleeding, painful, or oozing
•You're not certain if it is a mole or a skin tag
•The tag is found close to sensitive locations (eyelids, genitals)
•You develop several tags in a short time (something that may be indicative of some underlying condition)
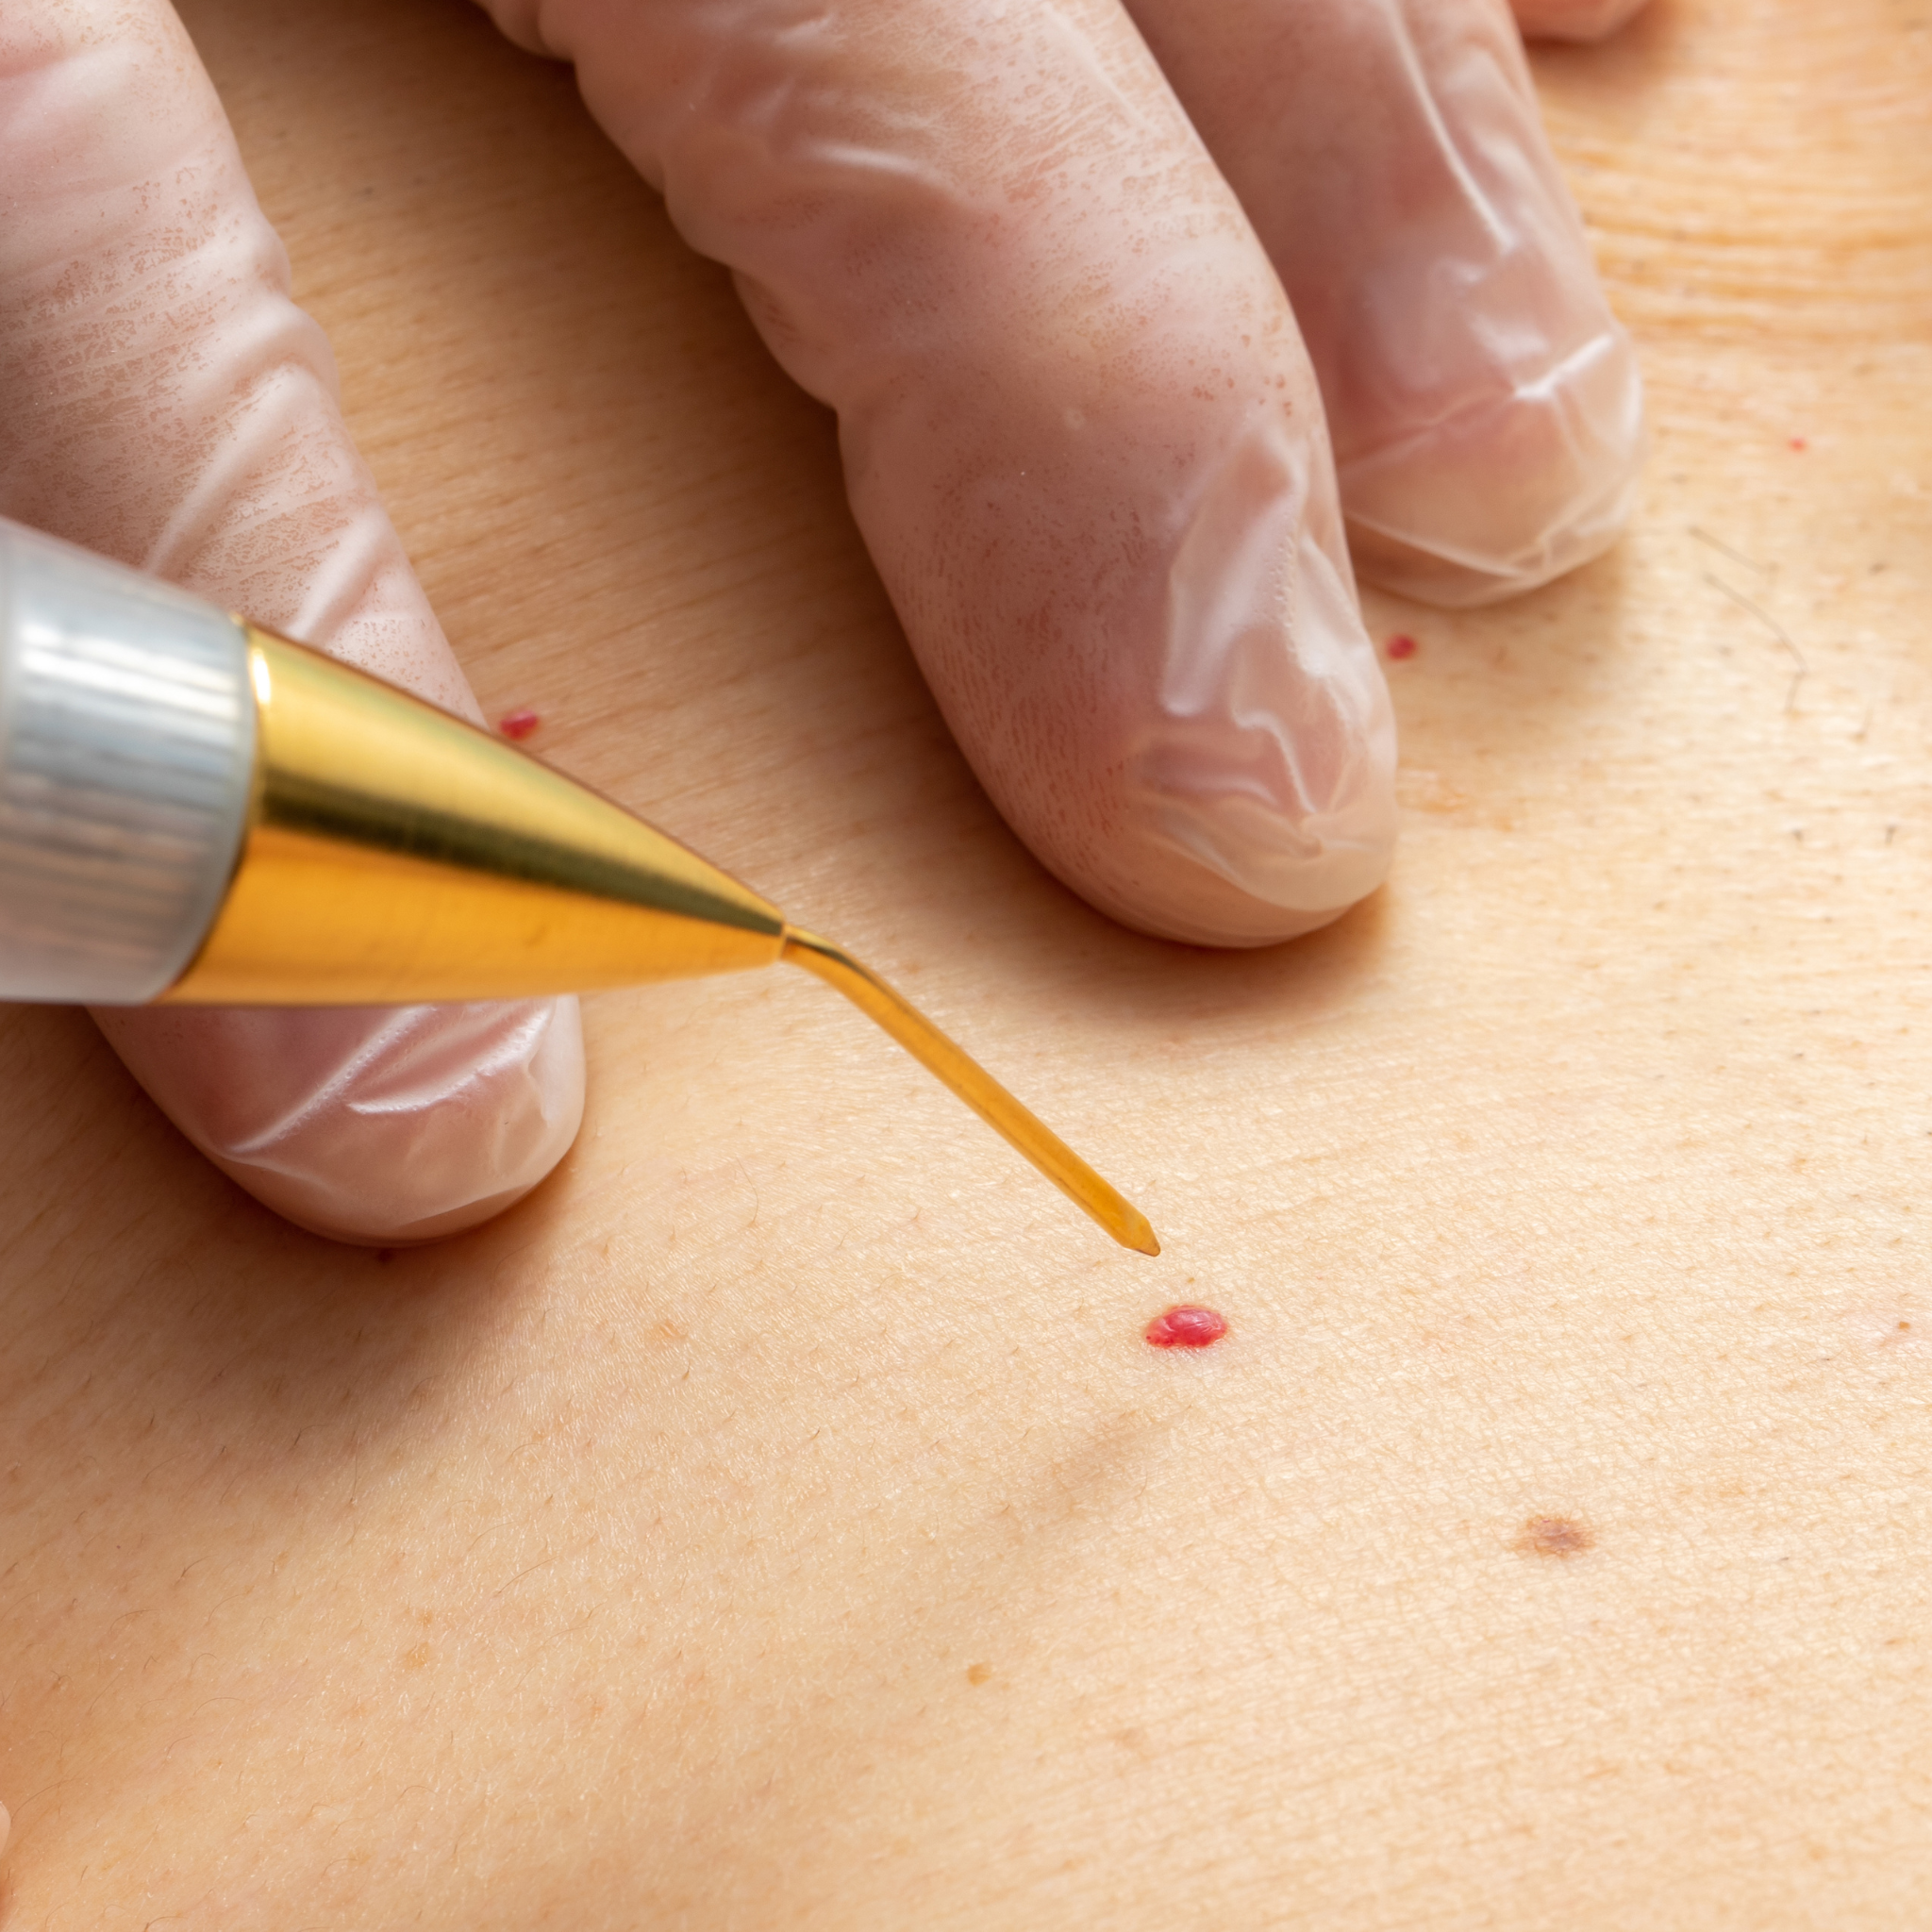
The dermatologist may remove a skin tag easily through electrocautery, cryotherapy, or excision, sometimes in a single visit.
Final Thoughts
Removing a skin tag at home can be done safely and effectively, provided you're using the proper equipment, keeping things clean, and following the directions carefully. Regardless of whether you're using a freeze kit, a removal patch, or a home remedy, what you need is a steady approach. Most skin tags aren't going to vanish in a single night, but with proper attention, they'll become a memory in no time.


0 comments